Prerequisites
Before you attempt to connect to Sage Intacct, make sure to add the Sender ID ‘CData’ into your list of authorized Sender IDs for Web Services authorizations. To add the Sender ID, follow these steps:
If necessary, contact

support@cdata.com for additional assistance.
セットアップガイド
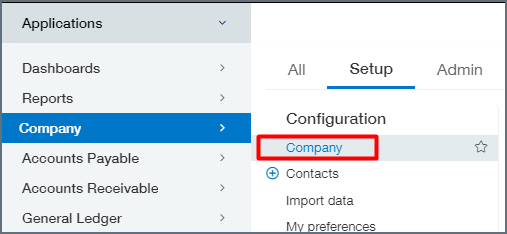
以下の手順で、Sage Intacct をConnect AI アカウントに接続します。Enter your Company Id into the Company ID field. You can find this Id in Sage Intacct under Company > Company info.
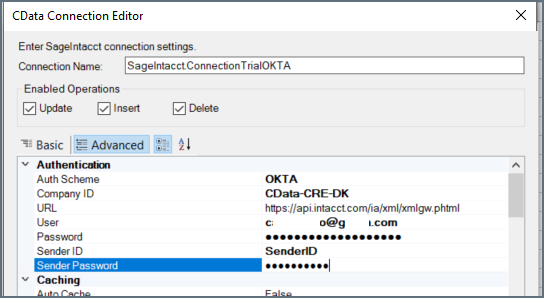
Authentication Methods
- BasicReadOnly
- Basic
- OKTA
First make sure that you have not specified either a “SenderID” or “SenderPassword” in Sage Intacct.
Add CData to the Web Services authorizations by navigating to Security > Web Services Authorizations/ Edit. Remember that this is case sensitive.
Connect AI Connection ページ上部の、Save & Test をクリックします。
- 接続テストに成功すると、コネクションが作成されたことを示すConnection successfully saved というメッセージが表示されます。Edit Connection ページのStatus もAuthenticated に変わります。Edit Connection ページの右ペインにあるData Model タブで、成功したコネクションのデータモデルを表示します。
- 接続テストに失敗した場合は、入力したログイン情報に余分なスペースや文字がないかを確認してください。Connect AI は、データが不足している必須フィールドの下にエラーメッセージを表示します。一部のデータソースでは、ソースのWeb サイトに直接サインインする必要があります。サインインしていない場合は、Sign in ボタンの下にエラーメッセージが表示されます。エラーを修正し、もう一度試してください。
- 失敗したコネクションは下書きとして保存され、Status はNot Authenticated になります。後でコネクションに戻って認証することができます。